BGS TECHNIC Tyre and rim tools for motorcycles
There are experts who can do it really well. There are plenty of videos that might make you envy, but believe us when we say that changing a motorcycle tyre the proper way is generally a hell of a struggle, especially when you don't have the right tools at your disposal. Isn't it weird that you never see that in those videos?
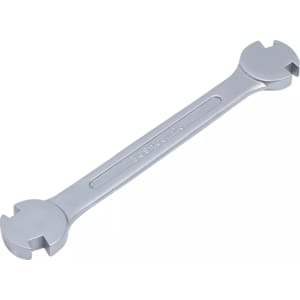
You'll also find everything you need to adjust the spokes or change a valve.
Read more
- «
- 1
- »
How do you go about changing a tyre?
1) Removing the tire
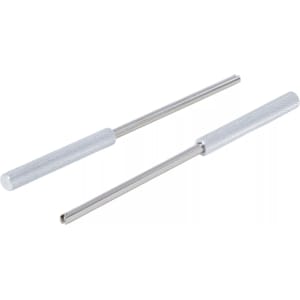
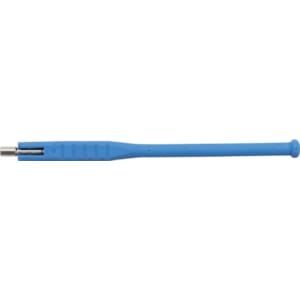
- After taking the wheel from the bike, lie it on the ground (make sure the brake discs and other parts are not taking the weight), and deflate it quickly by removing the valve with a tyre valve stem core removal tool.
- Once the tyre is deflated, break the bead by putting your weight on the tyre near the rim or use a specialized tool for that. This can be hard. Spray some soapy water along the tyre, near the rim. This make it easier to remove the tyre from the rim.
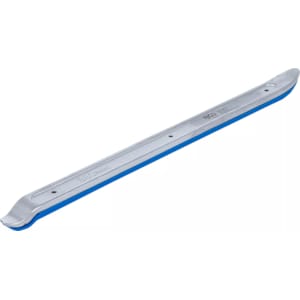
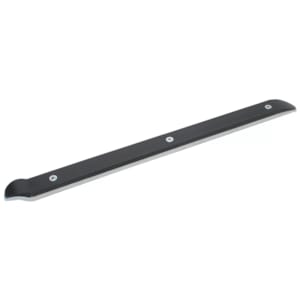
- To remove the tire from the rim, use 2 or 3 tire levers while protecting the rim with rim guards. Place a rim protector on the rim and use the tire levers to lift one full sidewall of the tire over the rim. Lift the tyre and repeat for the second tyre sidewall, but now from the inside of the rim. There are 2-in-1 tire levers available with a rim protector attached.
2) Fitting the tyre
- Lubricate the rim and tyre again. The first side of the tyre sidewall will probably slide easily over the rim, by pushing for 3/4 and using a tyre lever for the last 1/4. Before you do that, check if your tyre has to be mounted in a certain direction. It should show on the sidewall, indicated with arrows.
- To get the second sidewall over the rim, use several tire levers while applying pressure on the tire with the help of your knee (or a friend).
- When both tyre sidewalls are completely inside the rim, you can mount the valve with the valve core tool. In addition to that, the lightest point of the tyre is marked with a coloured ball. Make sure that indication is lined up to the valve.
- The last stage consists of putting the tire on the rim by inflating the tire hard until you hear two hard "bangs". This sound means that the tyre is correctly seated on the rim. Warning: Do not inflate to more than 3 bar at this stage! Also be very careful where you put your fingers, feet or tools while doing this!
- You should then continue to inflate the tire until it has the appropriate pressure. Check for leaks and proper seating with soapy water, and balance the tire if necessary.
Tip from the RAD house
Tires at room temperature are easier to take off or put on. To make changing quicker and easier, park the bike in the sun for 15 minutes before you start. And put the new tyres right next to them.


